
“Wow! I’m drawing on the WALL! This is SO cool!“
– My 6-year-old
An Open Canvas
Don’t write on the wall! We all know this rule, right?
And yet…a wall is THE most amazing open canvas for little artists. It’s sooooo tempting!
In fact, I actually dated a guy in college whose parents let him and his brother write and draw whatever they wanted on their bedroom walls. As it happened, they generally chose artistic, literary, or musical bits to assign wall space, but I just couldn’t do it. I’d want it changed far too often.
So Much Stuff
ANYwho, when my daughter suddenly started using the long forgotten little chalkboard easel in one of her play areas to write math problems and ask if the letters she was writing spelled words or not, I got an idea.
Because let me tell you, this girl has taken over some main parts of the house. LOL. And I am putting an end to it right now…slowly. This highly sensitive mama mind is losing it with the chaos of clutter. Think it’s not that bad? Let me prove you wrong.
The first picture below was two weeks ago when one of her multitude of experiments had an accident. Notice, even in the second (after) photo, there is TOO much stuff. We’re getting to that.


And yes…yes my friends, that IS black food coloring on the carpet. *facepalm*
SO…after a marathon of cleaning with a little lady who was quite sure this was all unfair, lol, I wasn’t even going to think about that part of the kitchen for a while. Until she started using that easel you see in the background for math and spelling, but didn’t have enough chalkboard space to write.
Ah-Hah!! I have been thinking that one tall wall needs to be utilized for something but hadn’t figured out what yet. A DIY chalkboard wall would provide much more room for her to practice math and spelling and drawing AND get rid of an easel. Winner, winner, chicken dinner!
Figuring Out the Logistics
However, I HATE how long the smell of paint lingers in a house and certainly didn’t care for the idea of paint smelling food, since this is part of our kitchen. So I did a quick Google search to see if my favorite clay-based paint could be used to make such a thing. I thought I had seen something like it a few years ago. And Google comes through again! *high five*

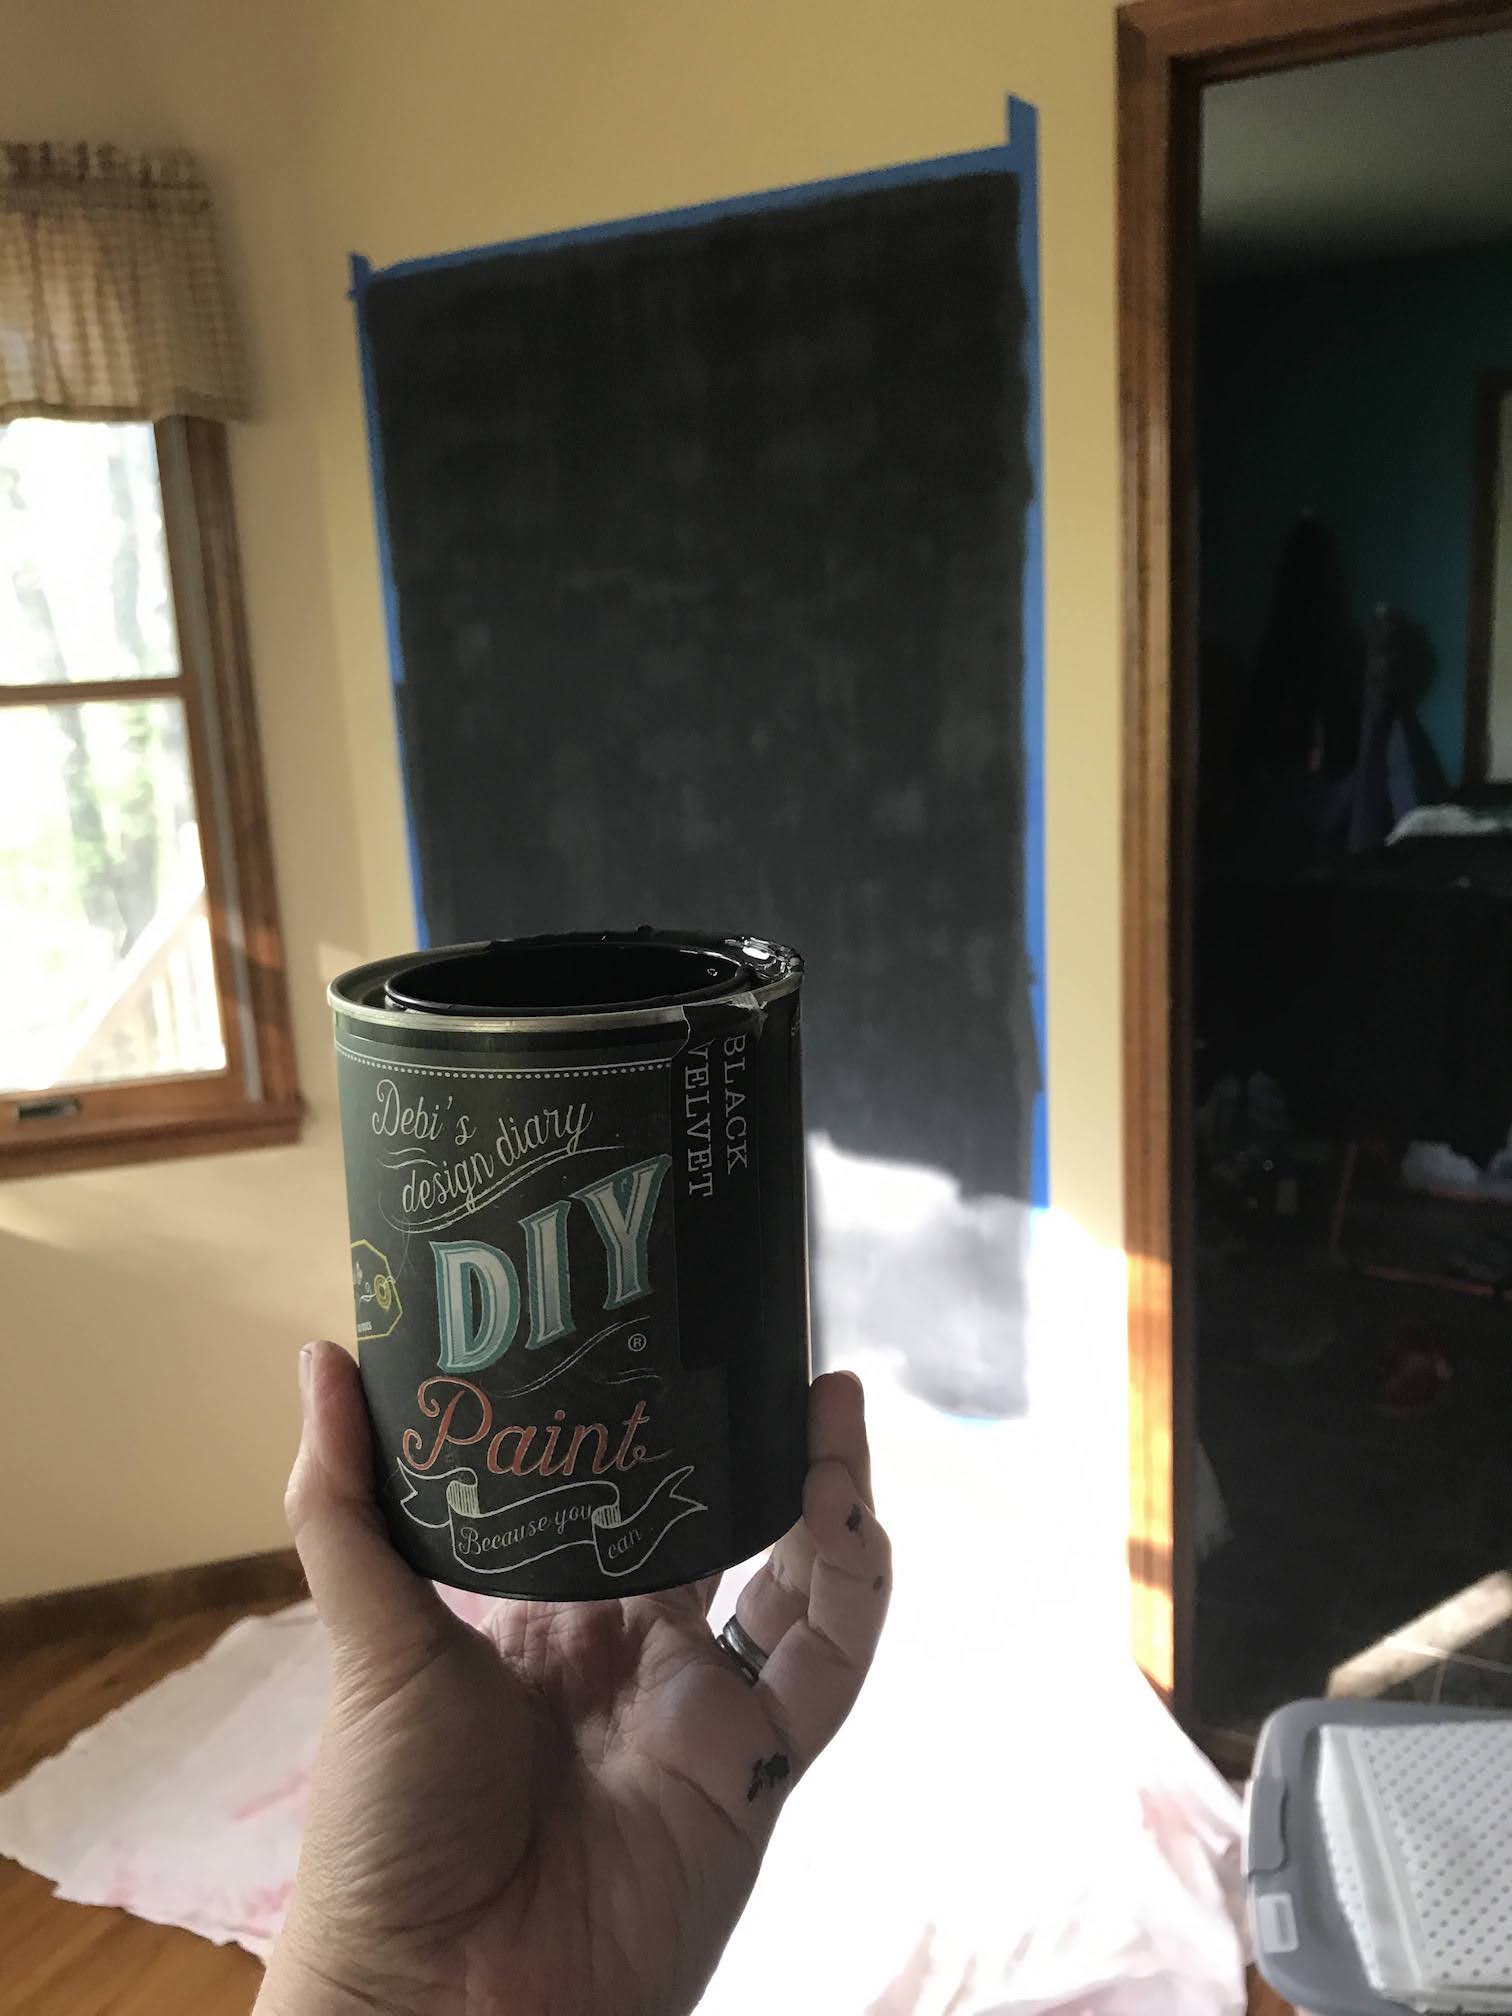
THIS, my friends, is my favorite paint. Buddy, oh buddy. I found it a few years ago when I was searching for eco-friendly paints while I was pregnant. It’s worth the hype, in my opinion, which I’m sure you’ll figure out after it makes an appearance in a few more DIY posts. Lol. You have to buy it online OR find a local retailer, but they are becoming more common. I buy mine from the local antique mall where a retailer has a booth dedicated to Debi’s DIY Paint (and NO, I’m not getting a commission or anything, I just love this stuff).
ANYwho, I took my little munchkin with me (yes, fully masked and distanced) to pick out a color. She decided black – not grey, nor gray, nor anything else. Black. Okie dokie. I chose ‘Black Velvet’ because, well, it looked rich and decadent.
I already had a small roller and tray from a previous project, so we were set!

Five Steps To A DIY Chalkboard Wall

First: How big do I want this thing? Ladies and gents, I just grabbed a tape measure and took a guess, marking about 5″ in from the sides, slightly lower than the doorframe next to it, and just above the outlet near the floor.
Second: I then used a yardstick AND a level (just hold a small one flush against the yardstick) to connect my marks. Because I’m JUST picky enough a crooked chalkboard would drive me batty.
Third: Painters tape the yardstick lines so I don’t have to worry about being oober careful. Yes, I said ‘oober’.
Fourth: Put the munchkin to work, because she desperately wants to paint NOW. Lol. She was playing with a grabber she made from a KiwiCrate box (story for another post) so I just put a rag on the end of it, clipped it with a binder clip, and told her to clean off the wall for me. Happy girl, happy Mom. 🙂
Fifth: PAINT! Debi’s DIY Paint doesn’t require primer or shaking or any of the things that I really hate taking time to do. Hehe. Part of my love affair. I just needed to stir it up with a old piece of dowel rod I found…lol…yes that’s how I work, and off we go!
Some Tips For DIY Paint and A Helper

Painting is SO easy with this paint, I mean truly. Just start rolling. It doesn’t make those annoying roller marks or drip easily or anything like that.
Now what it DID do, was make a bit of a black rain (Prince is now officially playing in my head) on my painting arm, but it’s JUST a clay based paint. No big deal to wash off at all. And for someone like me, something to not overthink is a total blessing. Lol.
I painted the top parts and my little lady painted the bottom parts (and I evened out her globs…lol). She also got SO excited on her first roll that she rolled right past the tape. LOL. I mean, I should have seen that coming, right?
But, a wet wipe later, most of it was taken care of. The rest a magic eraser cleaned right up. Seriously…’magic’ is so true with those things.
FYI: This DIY paint always dries lighter than the shown color, because the clay lightens as it dries. Generally you put on a top coat when you’re done and it goes right back to the color you expected, but this time you won’t use a top coat.
So, below is a picture comparison after each of three coats we did:
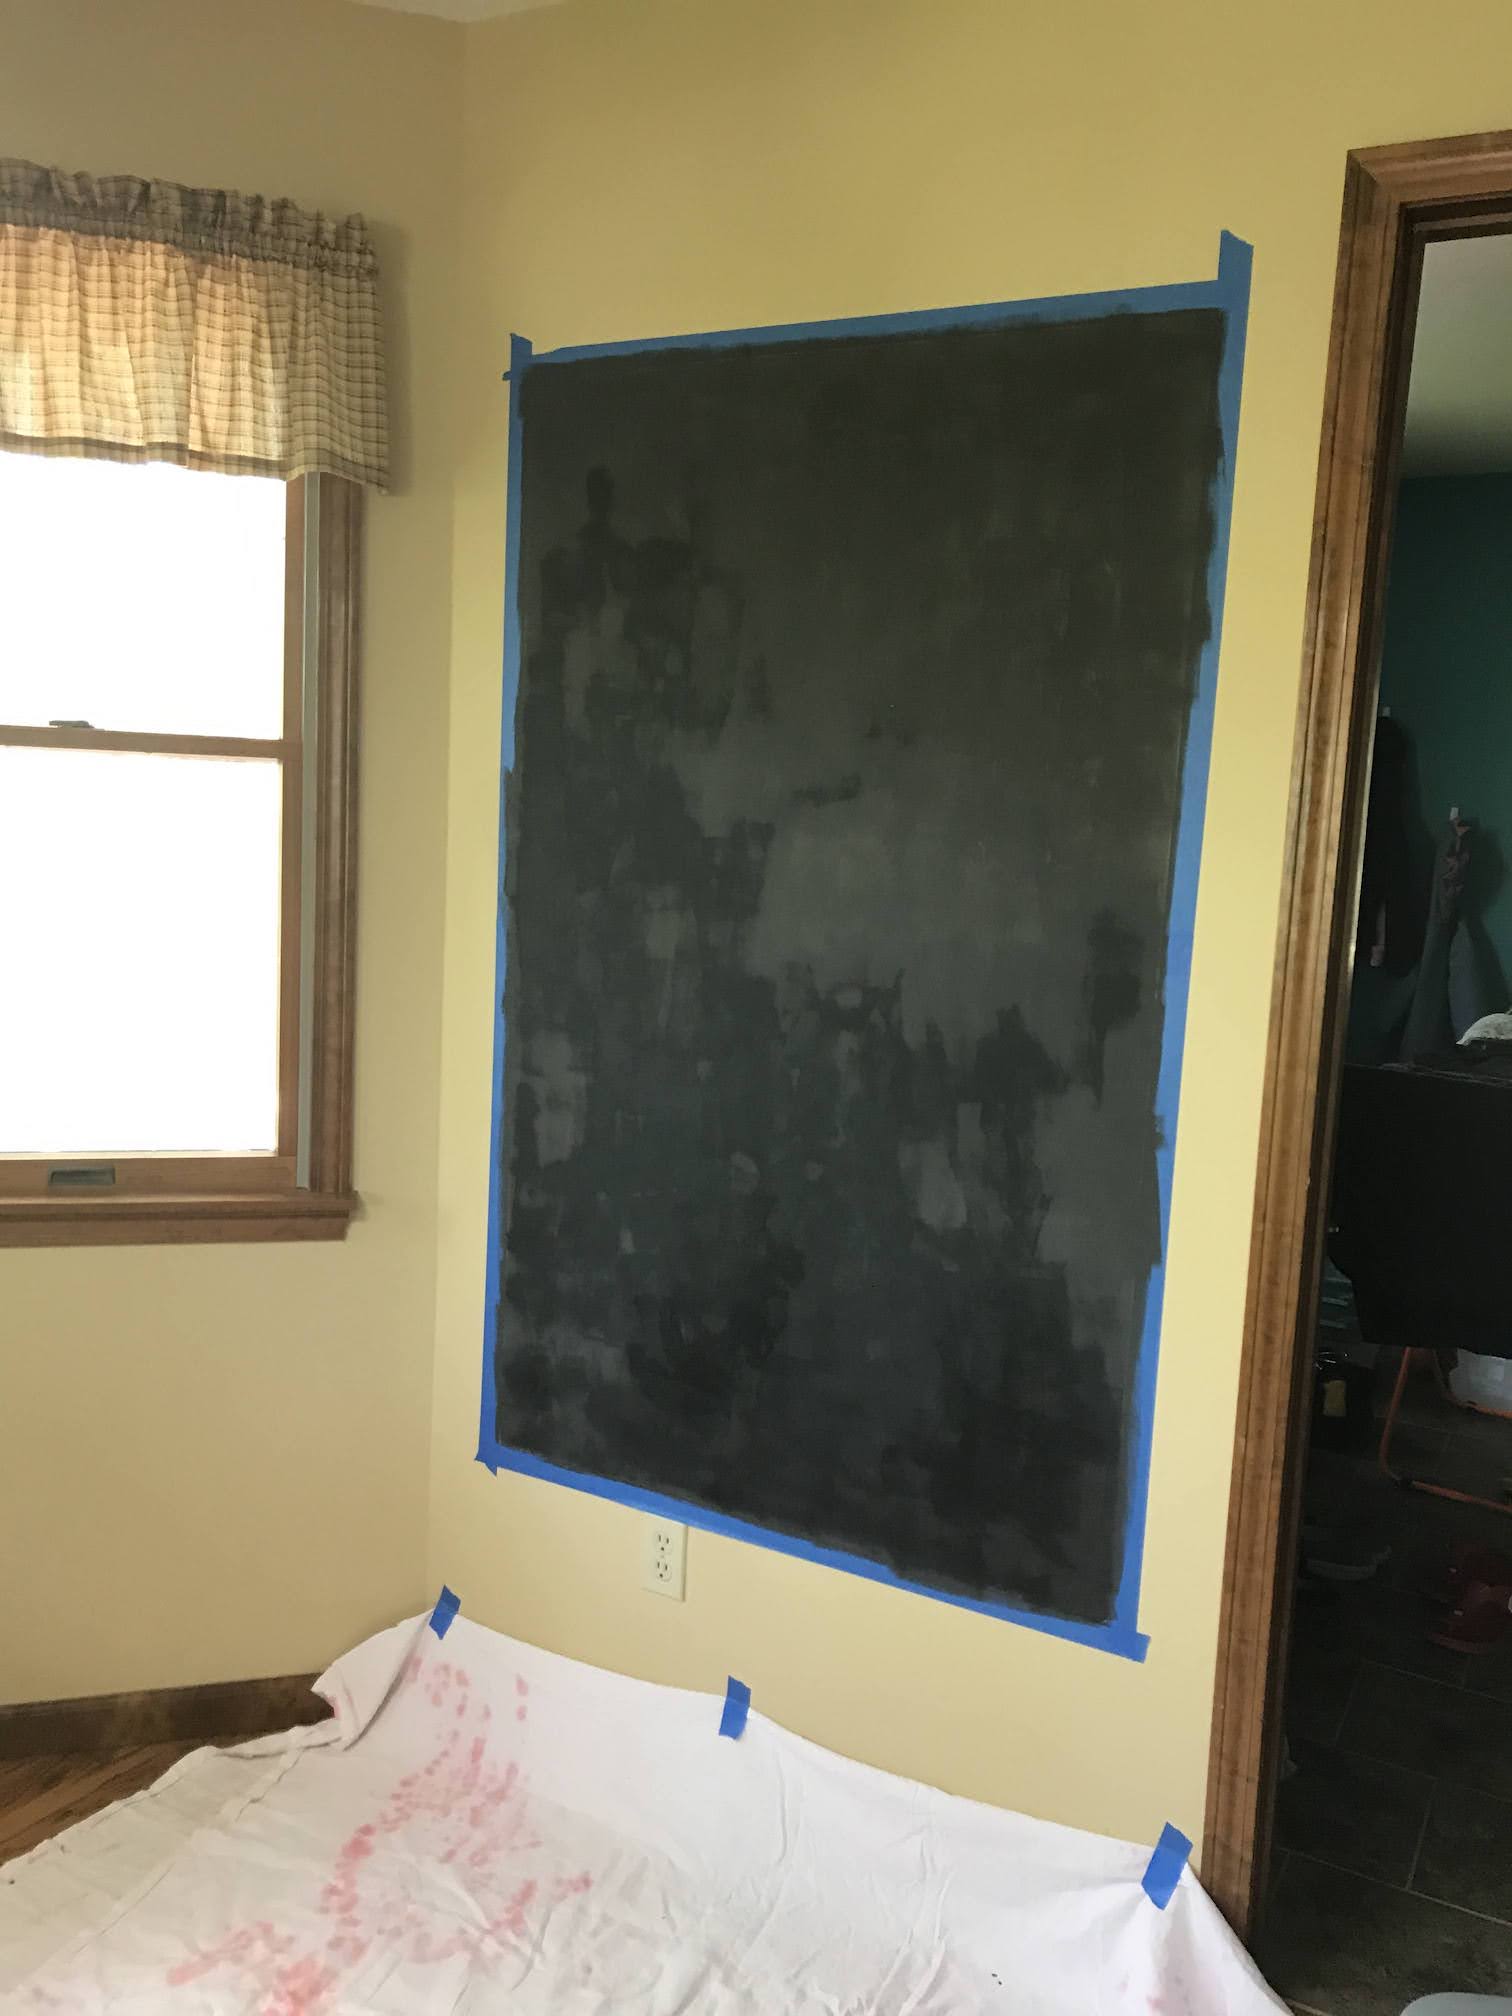

You can’t see much of a difference here, but you could up close. The little lighter spots easily covered with the second and third coats. What I had seen via my Google search was four coats, but three seemed like plenty…and this mama was done. ;-p
The great thing? The paint dries FAST, so I could do the next coat within 15-20 minutes. Probably faster, but we were playing or I was doing laundry in between coats. Because, you know, life. 🙂
Finally: Finding the Best Eraser
I took the painter’s tape off while it was still a bit wet, but I made munchkin wait until the next afternoon to try it, juuuuust to be sure it was good and super dry before we started drawing and erasing on it. I mean, it IS paint after all. *shrug*
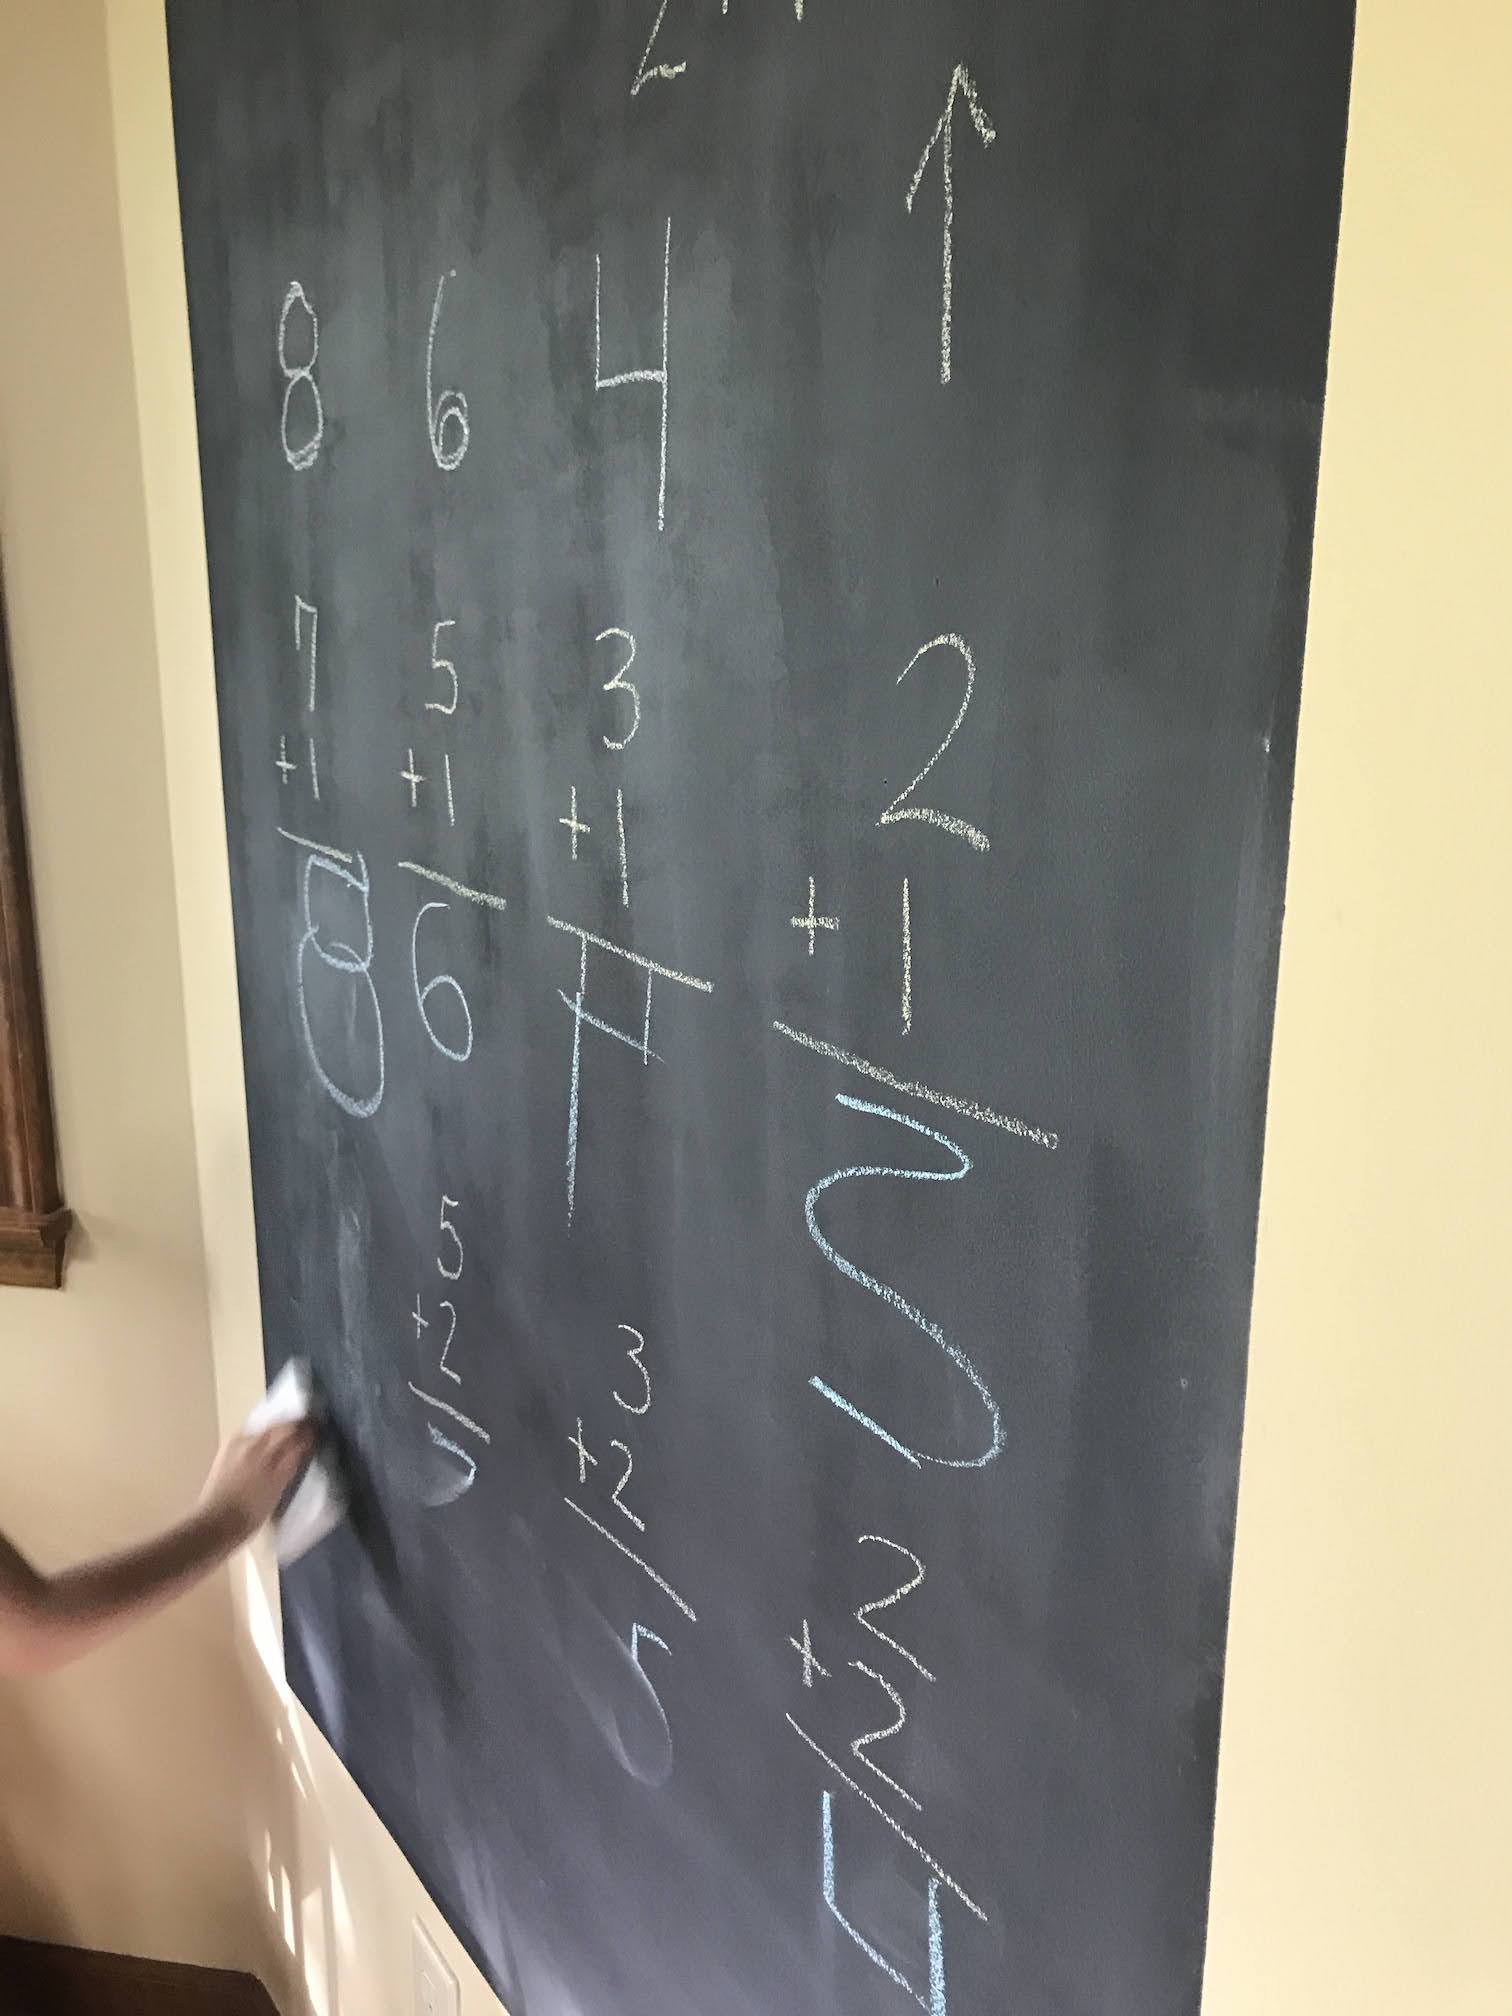
Then we did an eraser test. (There were some great unschooling opportunities as we worked, like this experiment.)
Here were our results:
| Erasing Device: | Result: | Score out of 10: |
|---|---|---|
| Chalkboard Eraser | Meh. It made a smearing effect, mostly. | 5/10 (top picture below) |
| ‘Rag’ (old clean t-shirt / sock) | Rather useless | 3/10 |
| Cotton Balls | Left more fuzz behind than anything | 2/10 |
| Mr. Clean ‘Magic Eraser’ (DRY) | Brilliant! | 10/10!!! (bottom picture below) |


Talk about a no-brainer! Wowie zowie! Mr. Clean magic eraser (DRY) for the win.
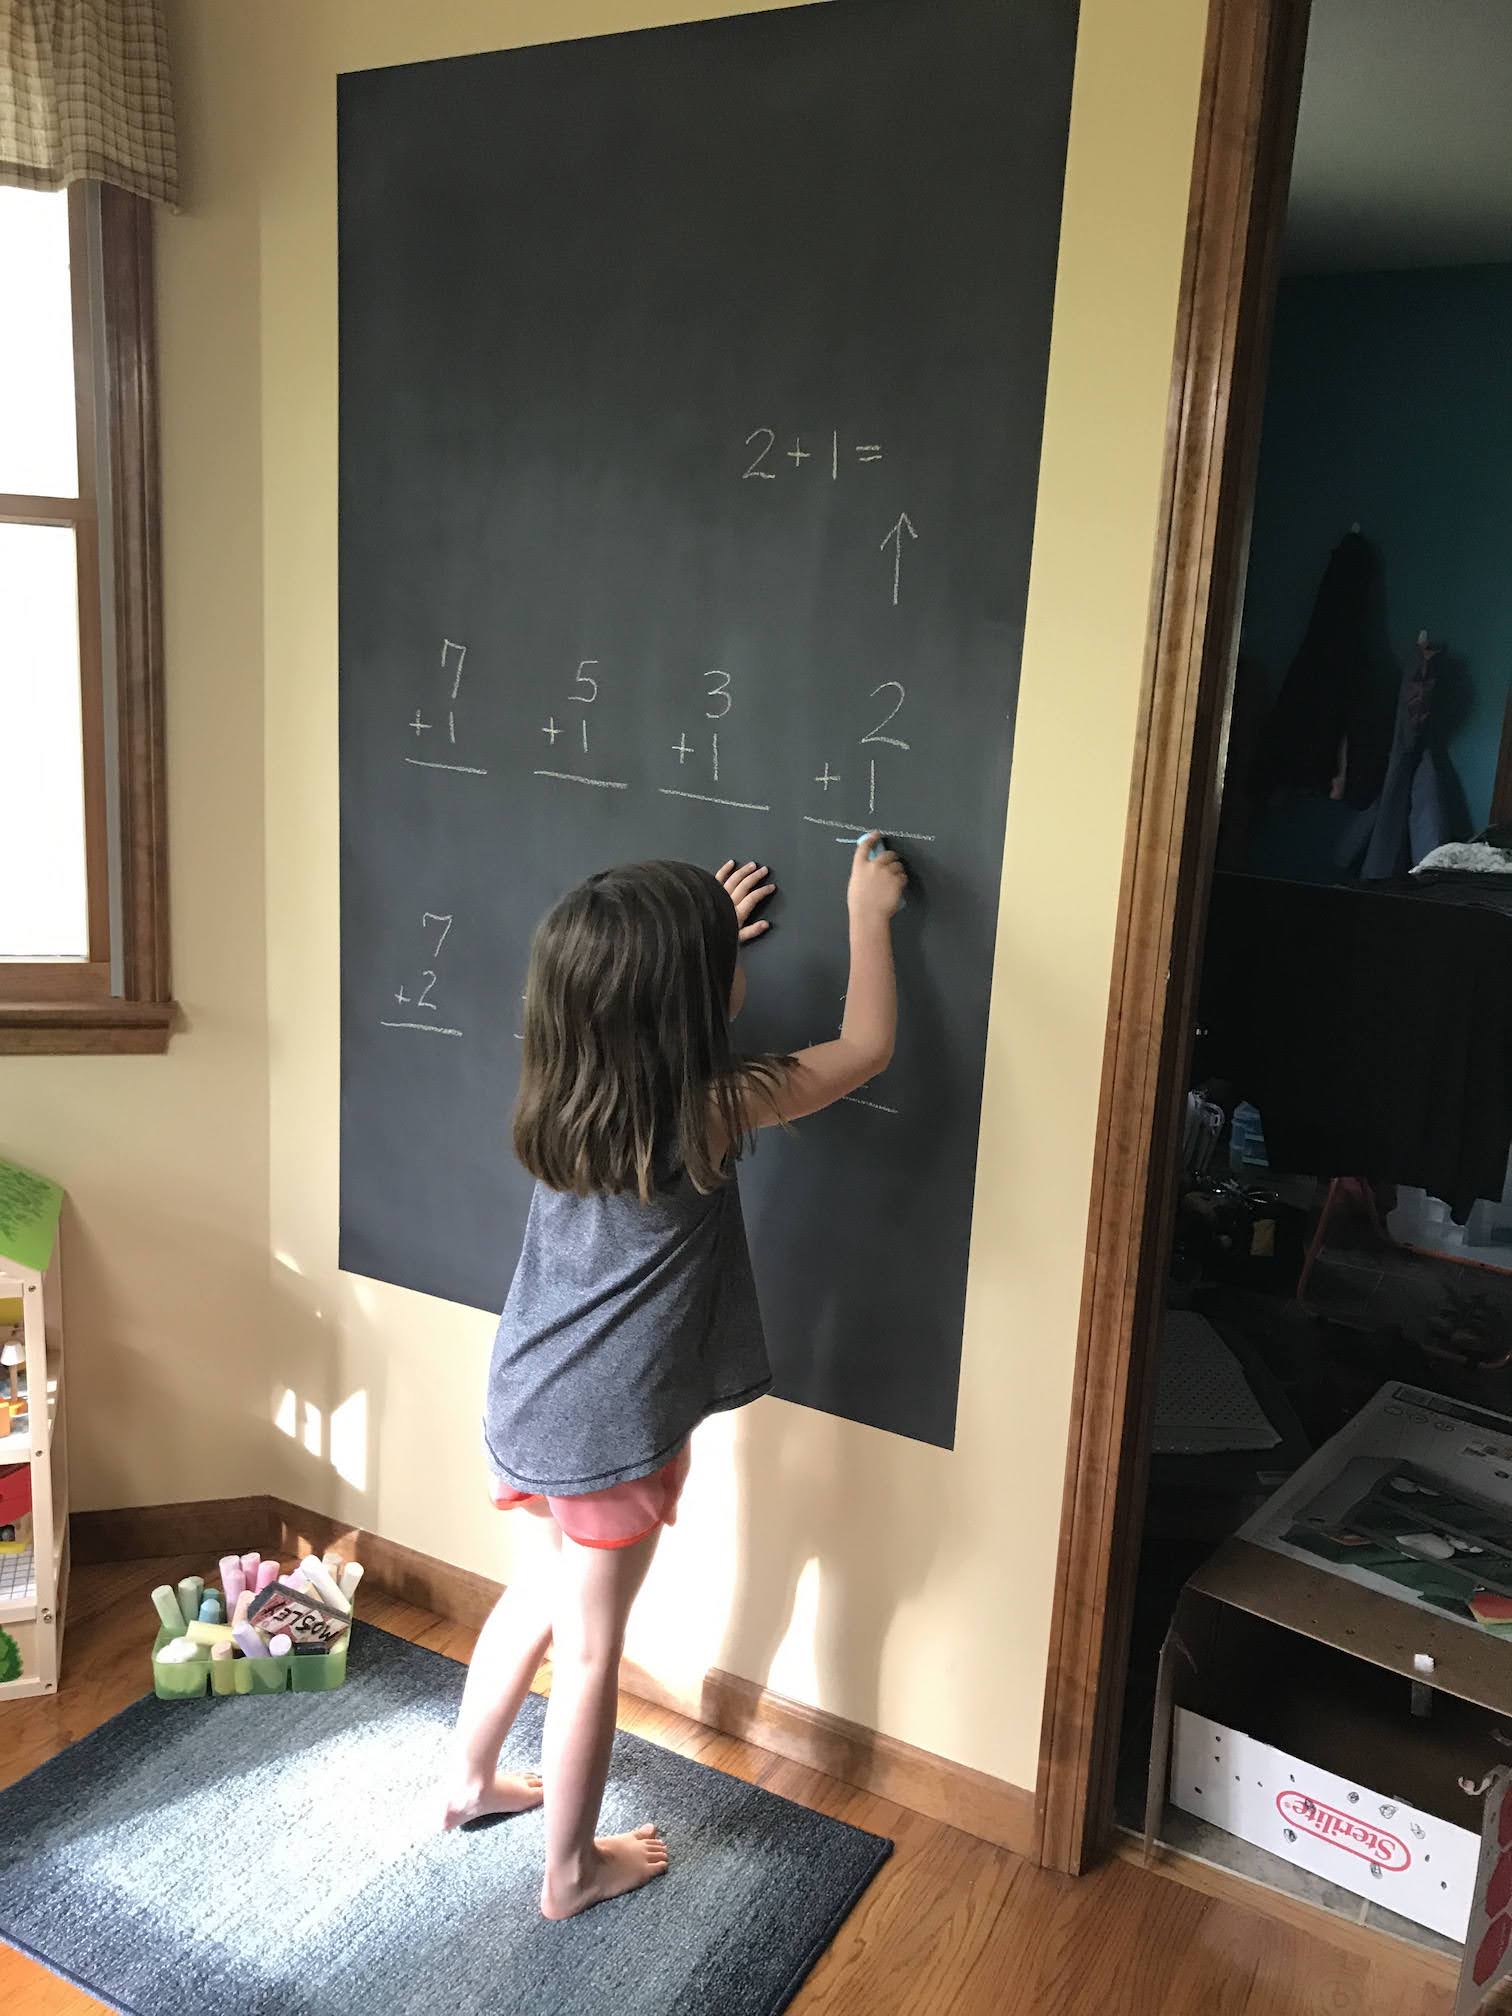
We had SO much fun testing the DIY chalkboard wall. My little girl’s first words as she wrote were “Wow! I’m drawing on the WALL! This is SO cool!” Lol…that pure joy alone was worth it. Because you know we ALL wanted to draw on the wall at one point.
So, as you can tell below, we put it to good use 🙂

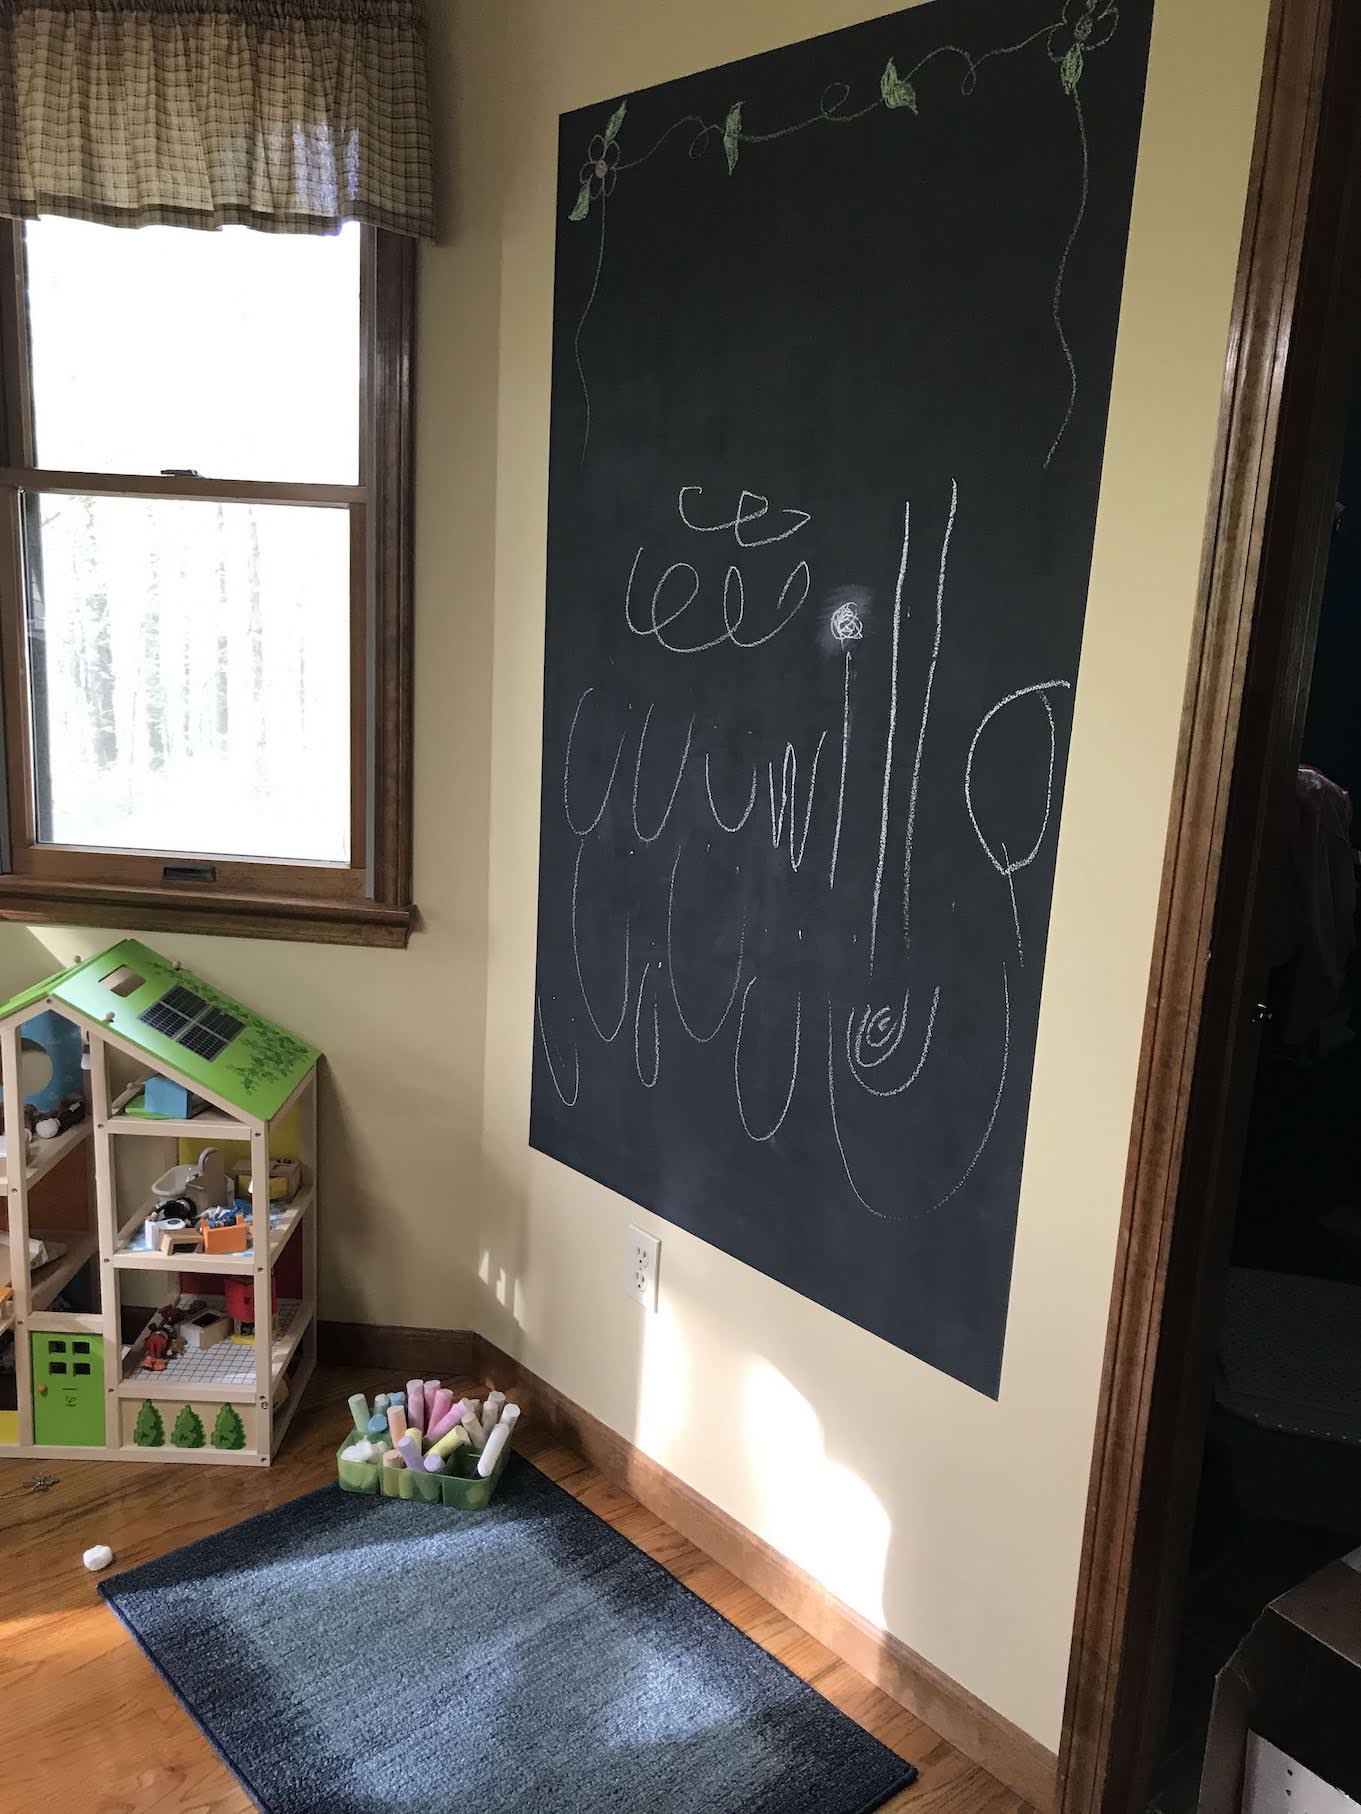
One note of warning: neither of us have chalk allergies, but once we started erasing a lot (NOT wetting the magic eraser…so we wouldn’t take the paint off), munchkin and I were both sniffling and sneezing like crazy. So open up a window or try some dustless chalk maybe. I’ll be experimenting with that myself soon. Let me know if you discover something helpful, please!!